Everything I have to teach the verb HAVE GOT
In this post, I would like to share the materials I have created recently to teach the verb HAVE GOT.
In this post, I would like to share the materials I have created recently to teach the verb HAVE GOT.
The aim of this activity is to expose your students to the grammar I am going to teach (in this case it is the present simple tense). Moreover, this activity adds a lot of listening comprehension as the students have to understand and answer the questions.

The aim of this post is to give you a set of materials to help you teach the difference between the present simple and continuous tenses. You can find several other resources on this topic here and here. Moreover, there is a great video by BBC called Grammar Gameshow.
In this text I suggest a method of teaching speaking and I explain why it should be done in this way.
Lesson preparation can take a lot of time. Here you will find two Microsoft Macros that will save some time for you.
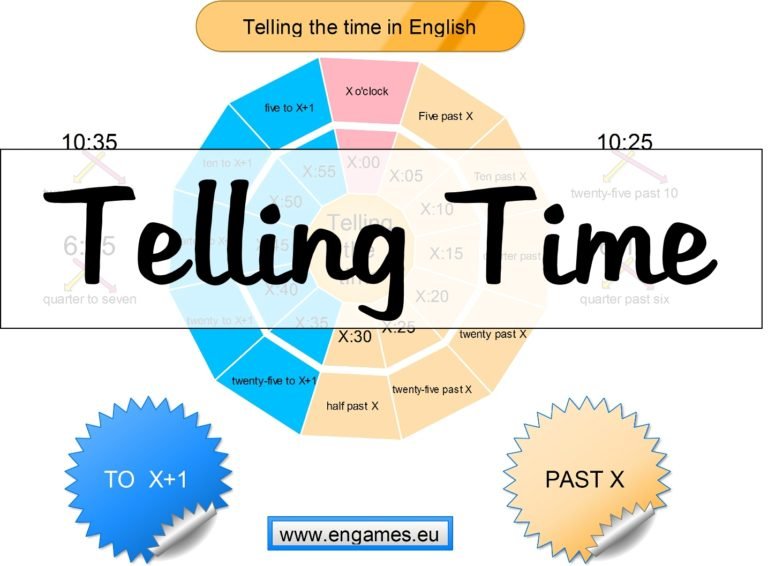
Here I hope to teach my students tell the time in English using both digital and analogue clocks.
This set of materials contains two videos, two speaking activities and a graphic organiser.
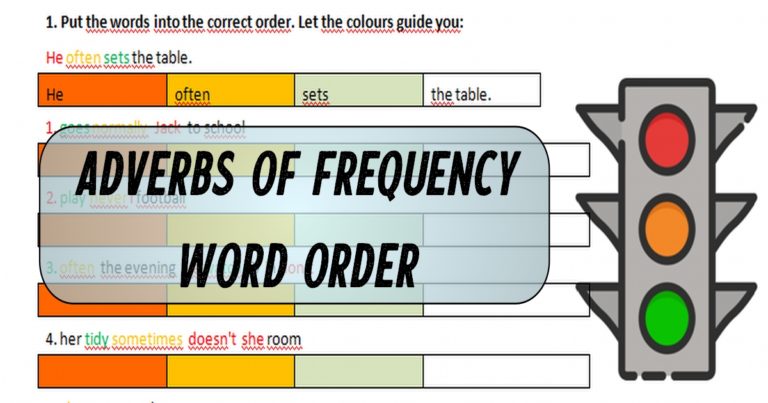
Master Yoda never bothered with the word order. But when my young padawans do the same I am not really happy. I yearn for a lightsaber precision. Especially adverbs of frequency should go in the right places. So here I would like to share a set of materials to help you teach this grammar.
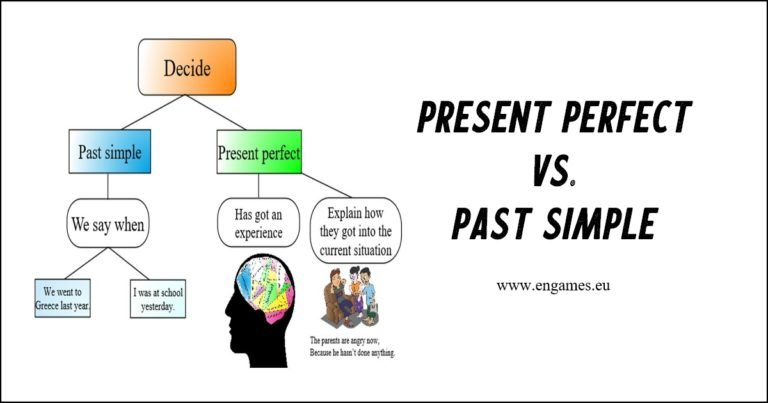
The present perfect tense is one of the most difficult tenses for my students. Therefore, I have spent a lot of time creating various materials to teach this tense. To save your time, I share the materials here.
Grammar Pac and Dictate are two online tools which help me teach English. Both of these tools are online and they are made for interactive whiteboards. Both of them provide a simple way to practise the things which have already been taught.

Unfortunately students don’t like reading. And what is even worse, they hate re-reading. It is next to impossible to make them re-read an article . They will complain, they will pretend or they will go to the toilet, but the majority won’t read the text again.
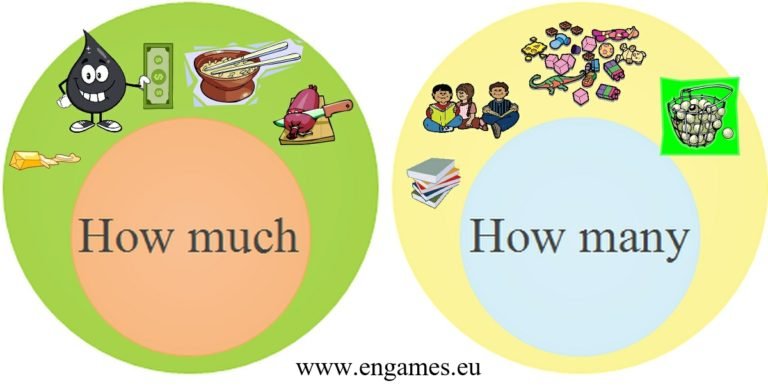
I have not created a new infographic for quite some time. I have been pretty content using the materials here. But when I saw the materials for HOW MUCH, HOW MANY, LITTLE and FEW I realised that I would like to have something better. Therefore I created the following materials to help my students understand…
During my summer holiday I spent some time creating these lovely boxes. Do you want to know what is inside?
I am not a really good teacher. But I would like to be. That is why I study a lot. Recently I read two books which tried to sum up what the scientists know about teaching and learning. The first one is called What Does This Look Like In The Classroom?: Bridging the Gap Between…
Some students find it difficult to learn all the forms of the past simple tense. The following worksheets will help them learn this grammar easily.
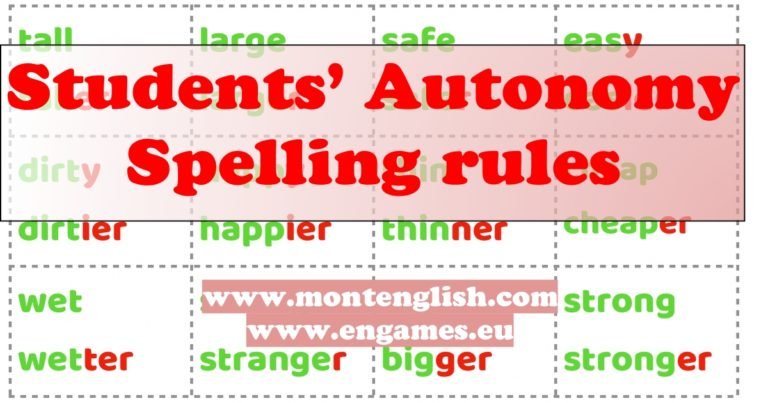
Autonomous students are intrinsically motivated, willing to take responsibility for their own learning and aware of their preferred learning strategies.
It has been known that people remember grammar rules best if they come up with their own explanation. Therefore, the teachers should try to design their teaching activities in such a way that they will help students create their own rules.
The verb to BE in the past tense is one of the most important grammar points in English. As both WAS and WERE belong among 100 most frequent words in English, it is paramount that students know and use them correctly.
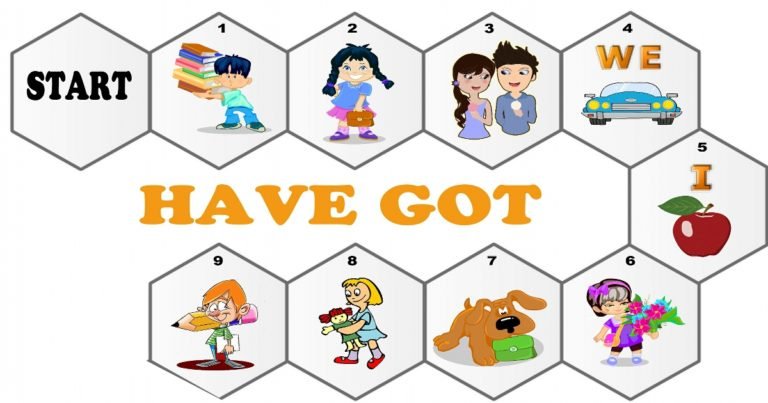
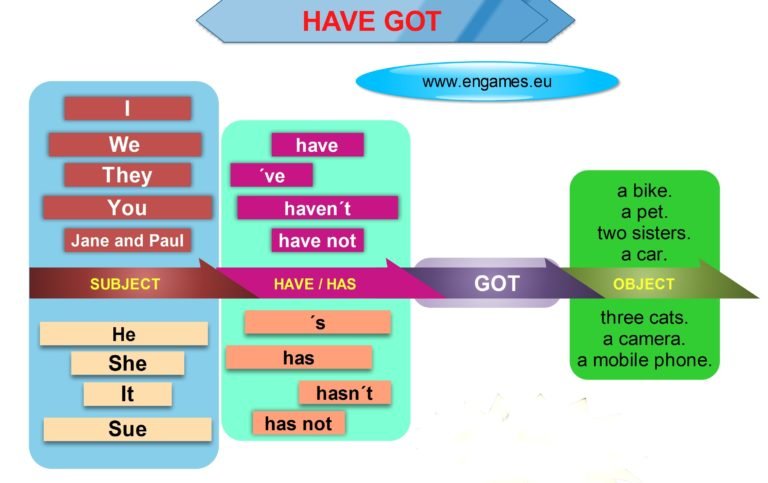
Recently my colleague noticed that our textbook contains too few exercises to practise the verb HAVE GOT. To bridge this gap I decided to create a board game. A board game will allow my students practise the grammar in a fun way and this activity can be used repeatedly.
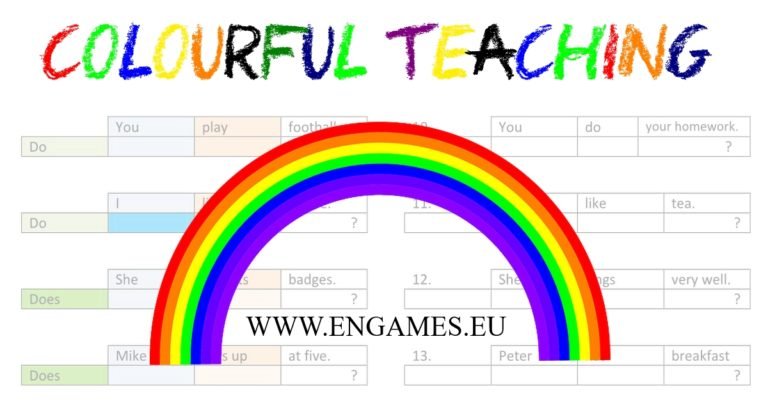
Imagine that even your most challenged students understand new grammar? Imagine that they discover the rules themselves? Imagine that your students ask you to test them on the topic you have just taught. All these things have happened to me after I started to use colourful teaching.
Recently I introduced Magic Grammar Cards in my classes. These cards are extremely versatile, easy to prepare and simple to use. Moreover, I believe that they are a great way to revise grammar and they support independent learning.